Use the Group Finder to help people search, explore, and join groups, classes, ministry teams, and more. You control all filter options, including the ability to search by location.
When someone joins a group, the group leader receives an email with that person's contact information. If configured, the individual is automatically added to the group.
Follow these tips to create better opportunities for connection in your community.
Build Groups with as Much Information as Possible
Group Finder works best when your group profile is complete and inviting. The details and images you provide help people get a feel for your group before they ever walk through the door.
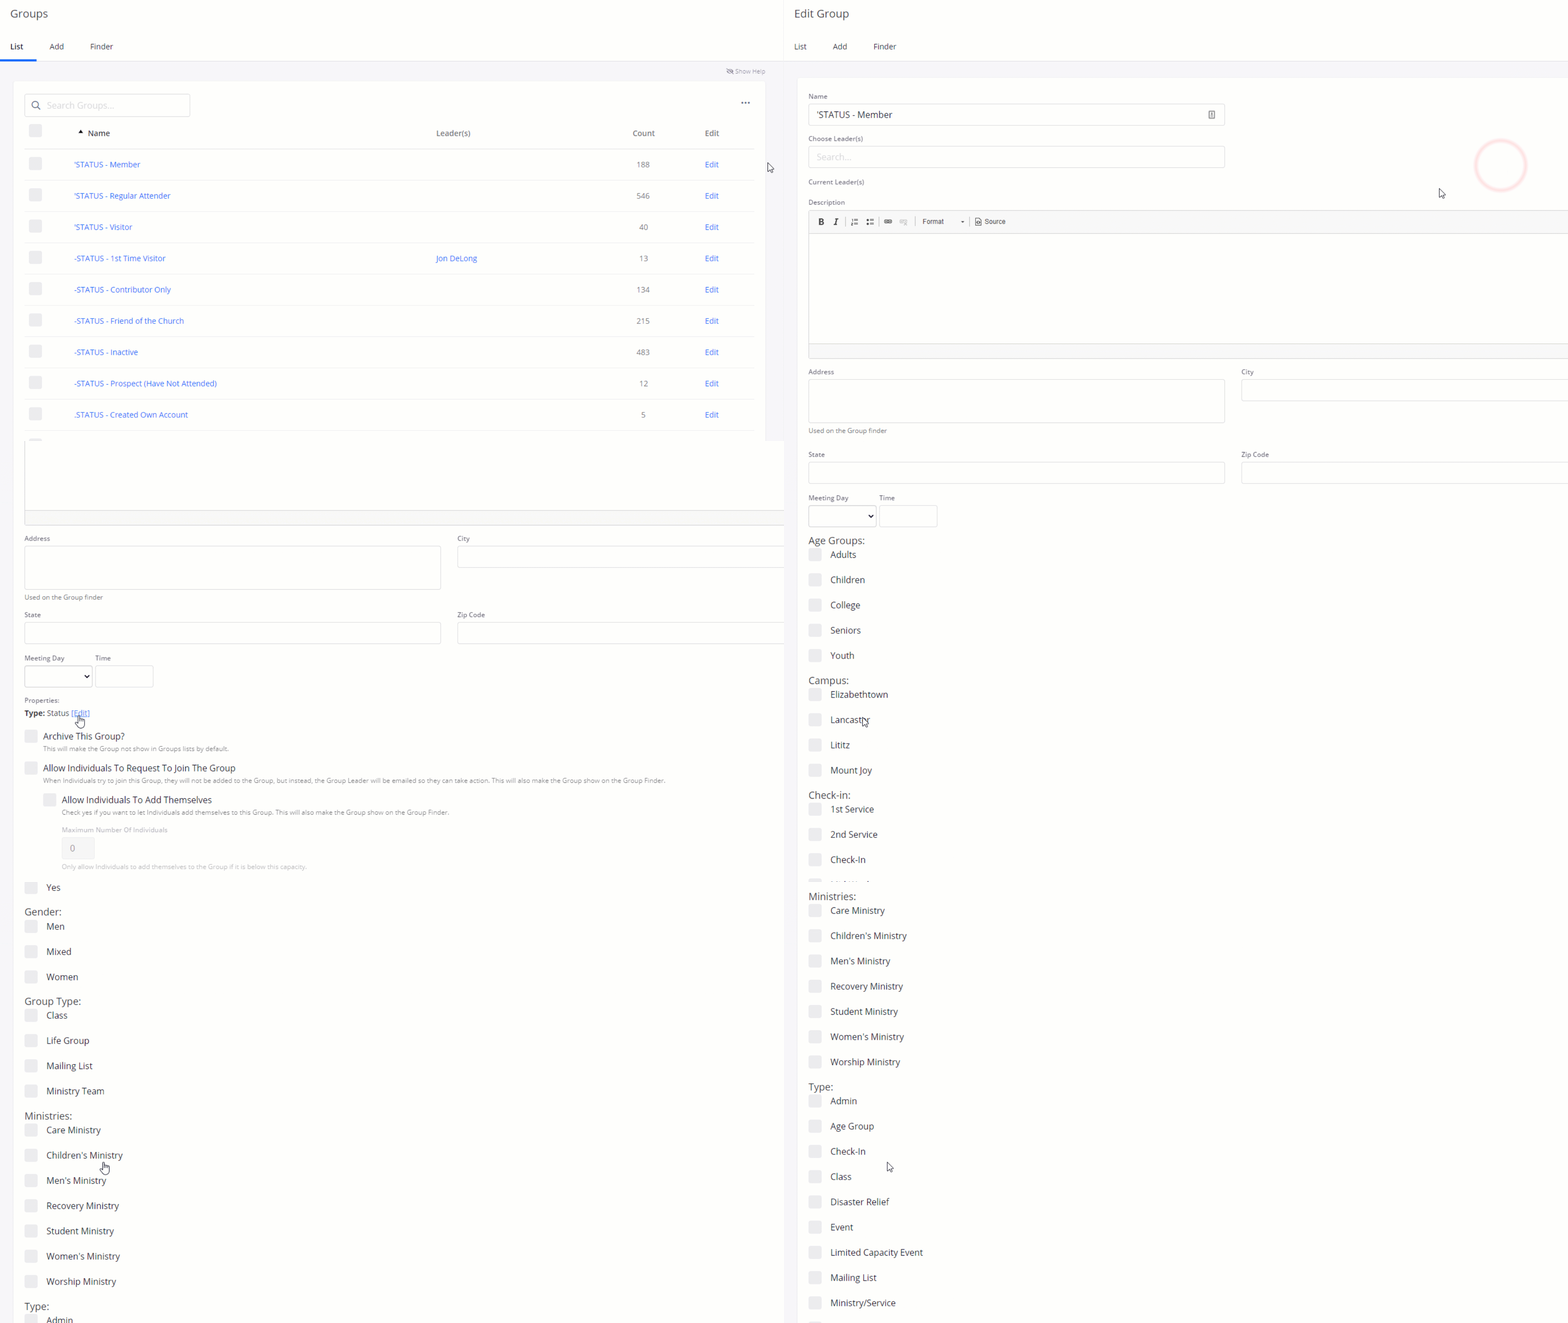
While only the Group Name is required, we strongly recommend filling out all fields: Description, Leader(s), Address, and Meeting Day & Time. Adding a photo makes your group feel more approachable.
You can also customize how your group appears in Group Finder Settings, including:
- Turning Group Finder on or off
- Choosing which categories people can search by
Decide How Individuals Can Add Themselves
In your Group Finder, people can click Join to join a group that fits their needs. When setting up Group Finder, you decide whether people can join automatically or whether a group leader must approve the request first.
-
Allow Individuals To Request To Join The Group:
- People who click Join are not added automatically. The Group Leader(s) receive an email and can approve or deny the request.
-
Allow Individuals To Add Themselves:
- The Group Leader(s) receive an email notification when someone joins the group.
- If the individual is not already in your Amplify People database, a new record and Admin Notification will be created.
Important: These two options are mutually exclusive. Only one can be active at a time. Choose the join method that works best for your ministry before publishing your Group Finder.
Use Group Properties
Group Properties let you tag groups with custom attributes that help people find the right group for them.
- Navigate to Gear Icon > Settings > Groups Tab > Group Properties.
- Define a Category, then add your properties under it. These appear as tagging options in your People database.
- Apply Group Properties to your groups. People will see these properties in Group Finder and can use them to choose the right group.
Display Group Finder on Your Website
Add Group Finder to your website using the embed code found in your settings. A good placement is under a Get Connected tab where people can easily find it.
- Copy the embed code from Settings > Groups Tab > Group Finder.
- Paste the embed code into your website in a location that is easy for visitors to find.
Learn more about Group Finder setup.
Interested in Additional Ways to Share Groups?
Share View is a feature that lets you further customize the Group Finder experience.
- Share (via an embed code or direct link) a narrower selection of groups
- Optionally, hide the filters area from your users
- And more
Read our Share View article for more information.
Updated