Overview
This article provides step-by-step instructions on how to access, export, and manage responses collected through your forms. By following these steps, you’ll be able to view, share, and maintain form submissions with ease.
At a Glance
- Click the Responses column to see your collected data.
- Export all responses into a CSV spreadsheet.
- View, print, or save individual form submissions.
- Delete responses to free up registration capacity (refunds must be processed separately).
Why Form Management
After collecting valuable information—such as prayer requests, t-shirt sizes, or event registrations—you’ll often need to access, share, or manage that data. Knowing how to quickly find and export responses saves time and ensures you can act on your form results efficiently.
Before You Begin
- Estimated Time to Complete: 2–5 minutes
- Required Role/Permissions: Access to the Forms Manager page & Form Permissions
- What You’ll Need: A completed form with responses
Steps
View Responses
- On the Forms Manager page, locate the Responses column.
-
Click the number of responses to open the internal spreadsheet of collected data.
🔵 What does the blue bubble mean?
The blue bubble next to the response count shows how many new, unread responses have come in.
- All submissions are always tracked in the system.
- The blue bubble simply alerts you to responses a manager hasn't viewed yet.
Export All Responses
- From the spreadsheet view, click the Export as CSV button in the bottom-right corner.
- Save the file to your computer to share or print.
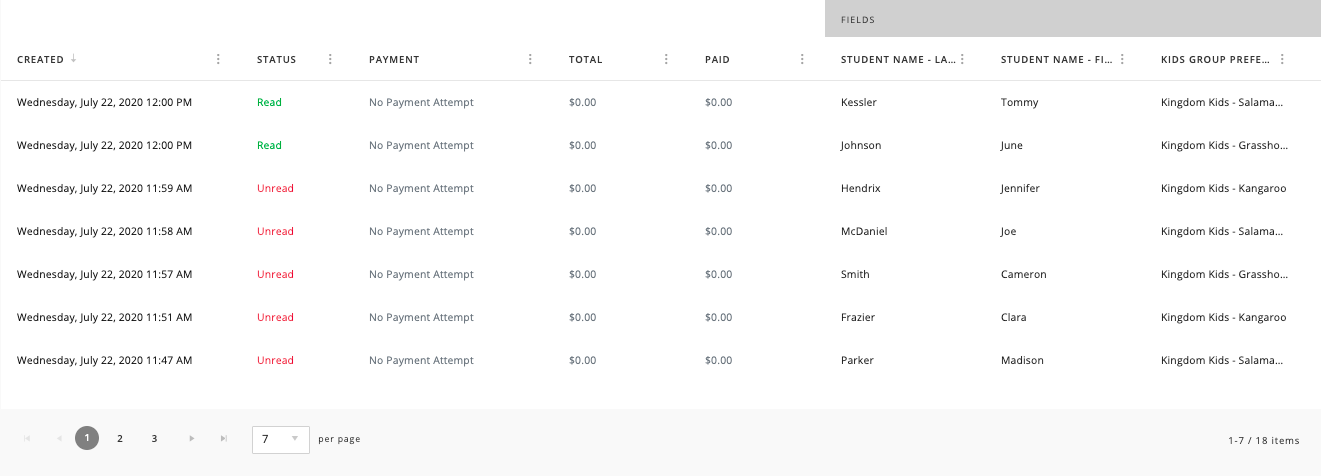

💡 Pro Tip: Exporting to CSV is the quickest way to share data with your finance or event team—no need for them to log into Forms Manager!
View or Edit Individual Responses
- In the spreadsheet, locate the Created Date column.
- Click the date to open a single submission.
- From here, you can:
- View, save, or print the full submission.
- Select to print or save only the Raw Data, if needed.

⚠️ Important: Not all fields can be edited. Payment fields are locked and cannot be changed.
Delete a Response
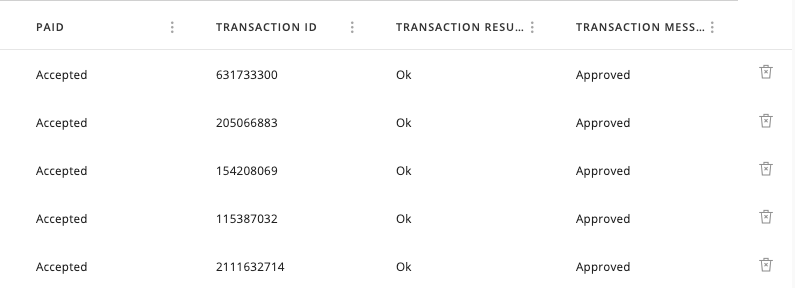
- Scroll to the far-right column of the spreadsheet.
- Click Delete next to the response you wish to remove.
Important Notes
- Deleting a response from an Event Registration form will open a new slot for registration.
- Deleting a response does not refund payments. Refunds must be issued manually from your Transactions Report.
FAQ
Q: Can I edit payment information on a response?
A: No. Payment fields are locked and cannot be edited for security reasons.
Q: Will deleting a response automatically refund a payment?
A: No. You must issue refunds separately through your Transactions Report.
Updated